Return to main Gallery
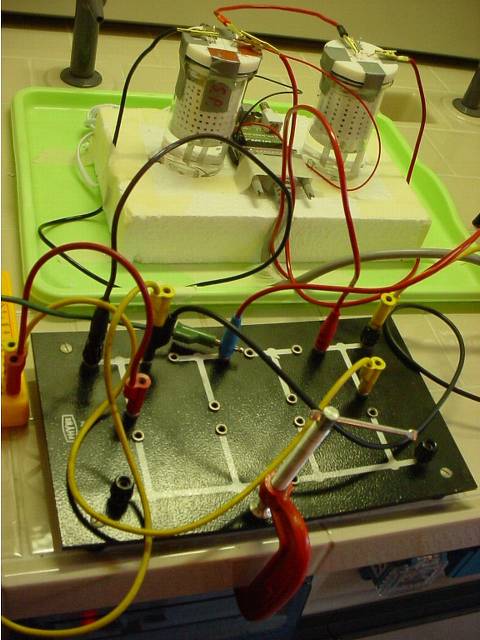
Setup
Return to main Gallery
|
Previous Picture
|
Next Picture